Setting Up Your First Candle Warmer Lamp
Last updated: Thu Oct 01 2026 00:00:00 GMT+0000 (Coordinated Universal Time)
If this is your first candle warmer lamp, the setup is straightforward — but a few details at the start make a significant difference to how well it performs. This guide covers everything for a first-time user.
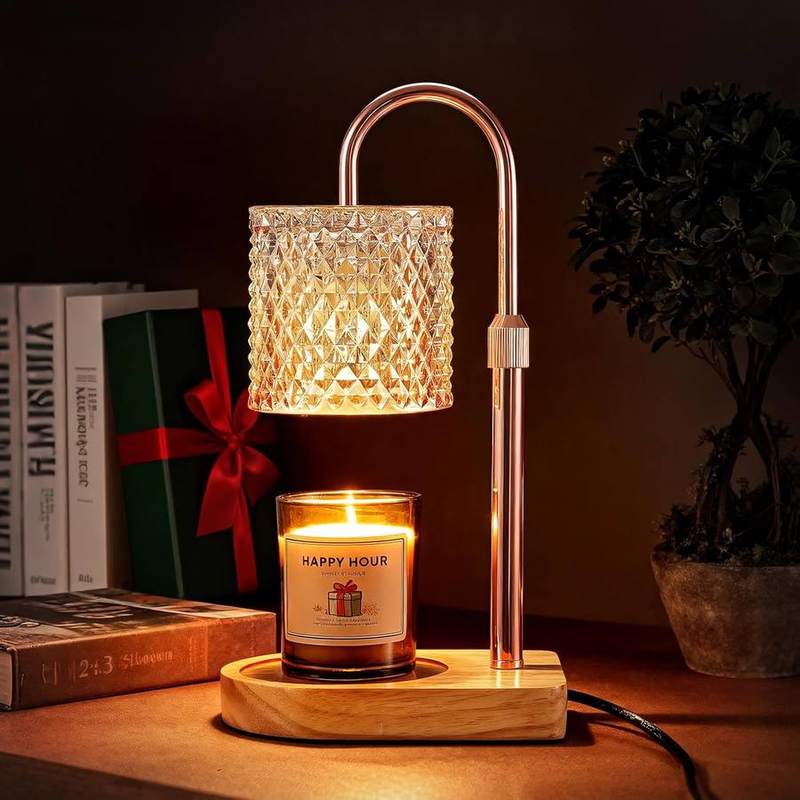
Unboxing and checking the lamp
When your LAMPHAUS lamp arrives, check the following before plugging it in:
- The glass shade is undamaged — look for chips around the rim and base
- The lamp's flex is undamaged with no cracking or fraying near the plug
- The shade sits securely on the base without rocking
- The bulb is pre-fitted and correctly seated (it should not rattle when you gently tilt the base)
If anything looks wrong, contact us before use. Operating a lamp with a loose bulb or damaged shade is not safe.
Choosing your first candle
For a first warming session, use a standard jar candle with a soy or paraffin-soy wax base, a diameter of at least 7 cm and a fill height under 10 cm. This is the most common candle format and will warm reliably.
Place the candle on a flat, heat-resistant surface, then position the lamp over it so the shade sits 2–3 cm above the candle's rim.
Plugging in and switching on
Most warmer lamps have an inline switch on the cable or a rocker switch on the base. Turn the switch on and allow 10–15 minutes for the wax surface to begin melting. You should see the top layer of wax begin to liquefy and fragrance should start to be noticeable in the room.
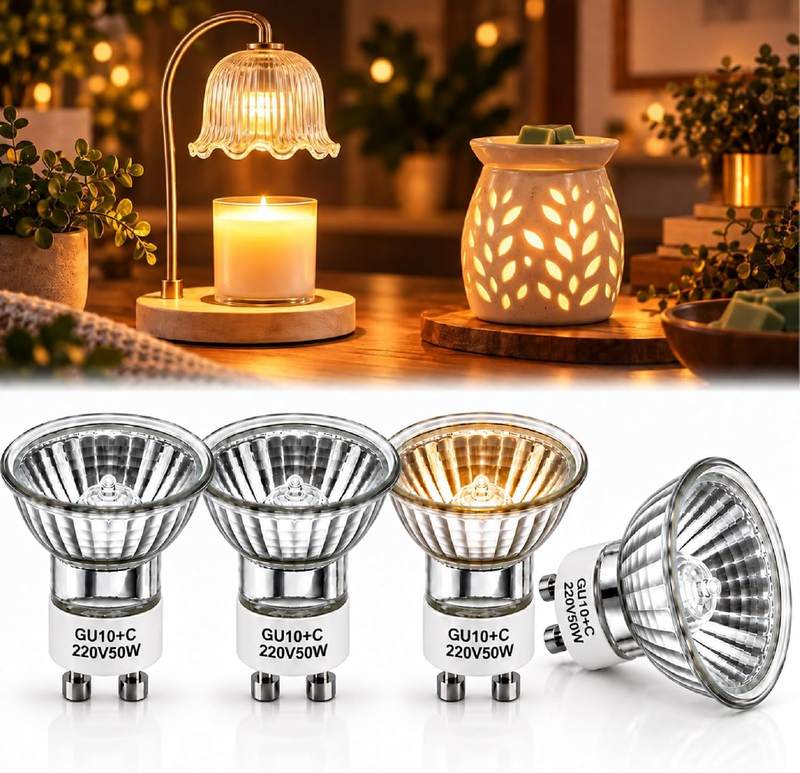
If the wax surface has not begun to soften after 20 minutes, check that the bulb is correctly seated and the correct wattage is fitted. A 25 W bulb should be sufficient for a warm room; try a 40 W replacement in a cold room or with a higher melt-point wax. Browse our GU10 replacement bulbs — the Andymoro 4-pack is a good value option to have on hand.
Using a timer model
Timer warmer lamps typically offer 2-hour, 4-hour and 6-hour settings. For everyday home use, a 4-hour cycle morning and evening produces a consistent fragrance level throughout the day.
For bedrooms, a 2-hour setting at night is enough to fragrance the room before sleep without over-warming the candle. Most timer models can be set to switch off automatically after the selected period.
How long to run the lamp
Do not run the lamp continuously for more than 8 hours. Over-warming depletes the top layer of fragrance wax and can affect the candle's long-term performance. In practice, 4–6 hours per day is enough for a noticeable fragrance in a room of up to 30 square metres.
Warming session complete — what to do
When you switch the lamp off, the wax will re-solidify over the next hour. Do not try to move the candle while the wax is still liquid — it will spill and can be difficult to clean from upholstery and flooring.
Allow the lamp to cool fully before removing the shade or cleaning the glass.
When to replace the candle
A warmed candle will eventually lose its fragrance performance — the top wax layer has been melted repeatedly and the fragrance compounds have been released. When you notice the scent has become faint even at the start of a warming session, it is time for a new candle.
This typically happens after 80–120 warming hours depending on the candle's fragrance load and the room temperature.
Browse the full lamp range at LAMPHAUS, or read how a candle warmer lamp compares to burning a candle if you are still deciding.